Adding a proxy in Chrome isn’t rocket science, but it can feel like decoding alien technology if you’ve never done it before.
Whether you’re looking to fine-tune your browser’s connectivity for privacy, speed, or more control, setting up a proxy in Chrome gives you an edge.
Don’t want to miss the best from TechLatest?
Set us as a preferred source in Google Search
and make sure you never miss our latest.
If you think proxies are just for tech wizards in dark basements typing code at the speed of light—think again. The process is actually user-friendly, and once you know where to click, you’ll wonder why you didn’t do it sooner.
Why Use a Proxy in Chrome?
Let’s be honest: Chrome is a fantastic browser, but out-of-the-box, it’s not always tailored to meet every user’s unique needs. Sometimes, your browsing experience needs a little boost—enter proxies.
These digital middlemen act as a filter between you and the internet. When you route your traffic through a proxy, you’re essentially choosing a new face for your browser to wear. That can mean better speeds, more precise location targeting, or just tighter reins on your personal data.
Think of it like sending someone else to pick up your takeaway. Your name isn’t on the receipt, but your food still makes it to your table—hot and exactly how you ordered it. That’s the kind of subtle power a proxy adds to Chrome.
Step-by-Step: How to Add a Proxy in Chrome on Windows or macOS
Even though Chrome doesn’t have a built-in proxy configuration panel, it cleverly syncs with your system settings. So when you adjust your computer’s proxy settings, Chrome automatically adopts them. Here’s how to do it on both Windows and macOS:
- Open Chrome.
- Click the three-dot menu in the top-right corner.
- Navigate to Settings.

- Scroll down and select System.
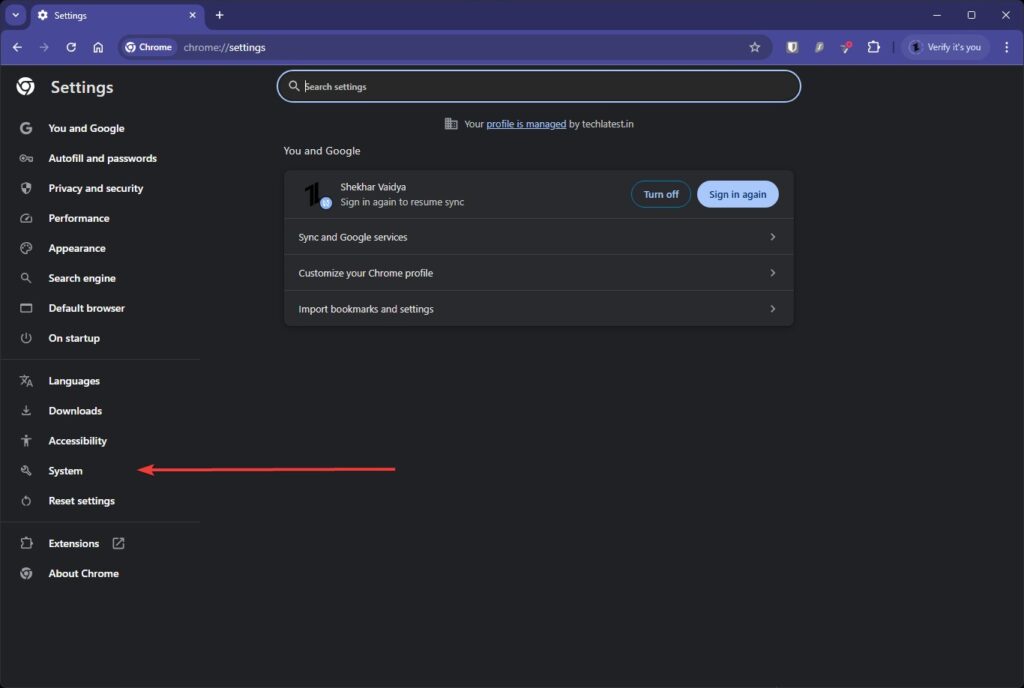
- Click on Open your computer’s proxy settings.
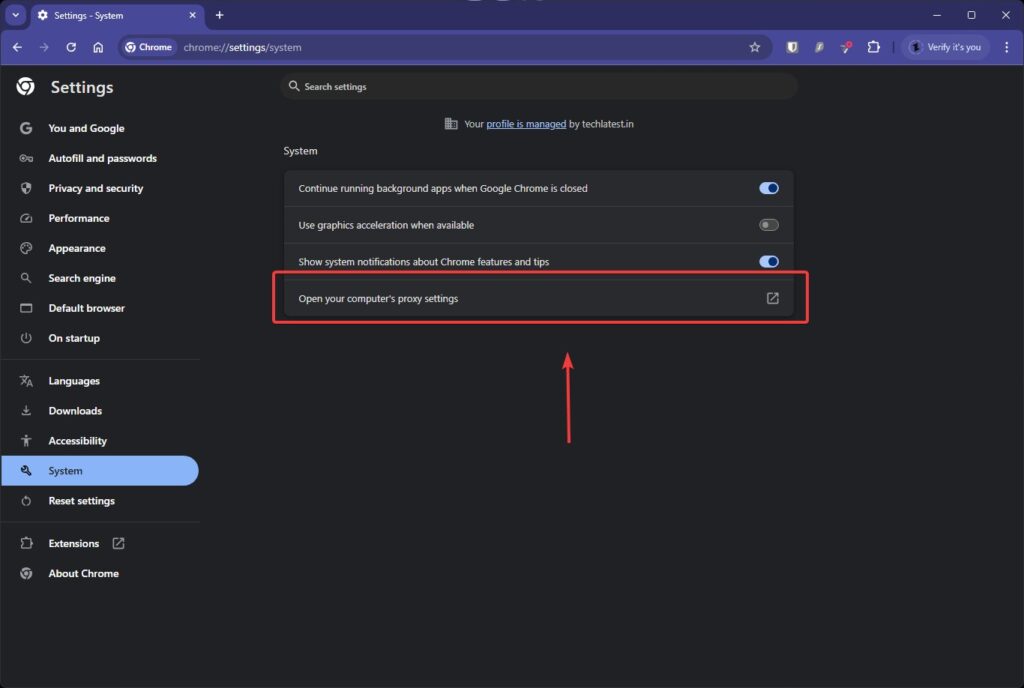
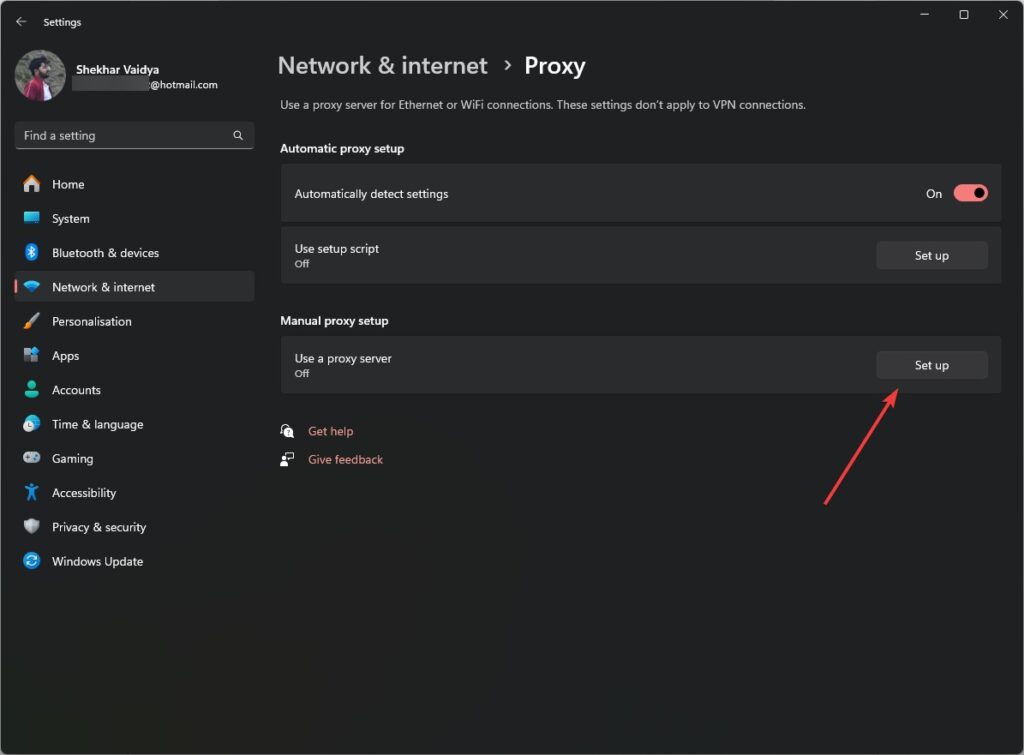
From here, you’ll be taken to the operating system’s proxy menu:
- On Windows: Toggle on “Use a proxy server,” then enter the IP address and port number provided by your proxy provider.
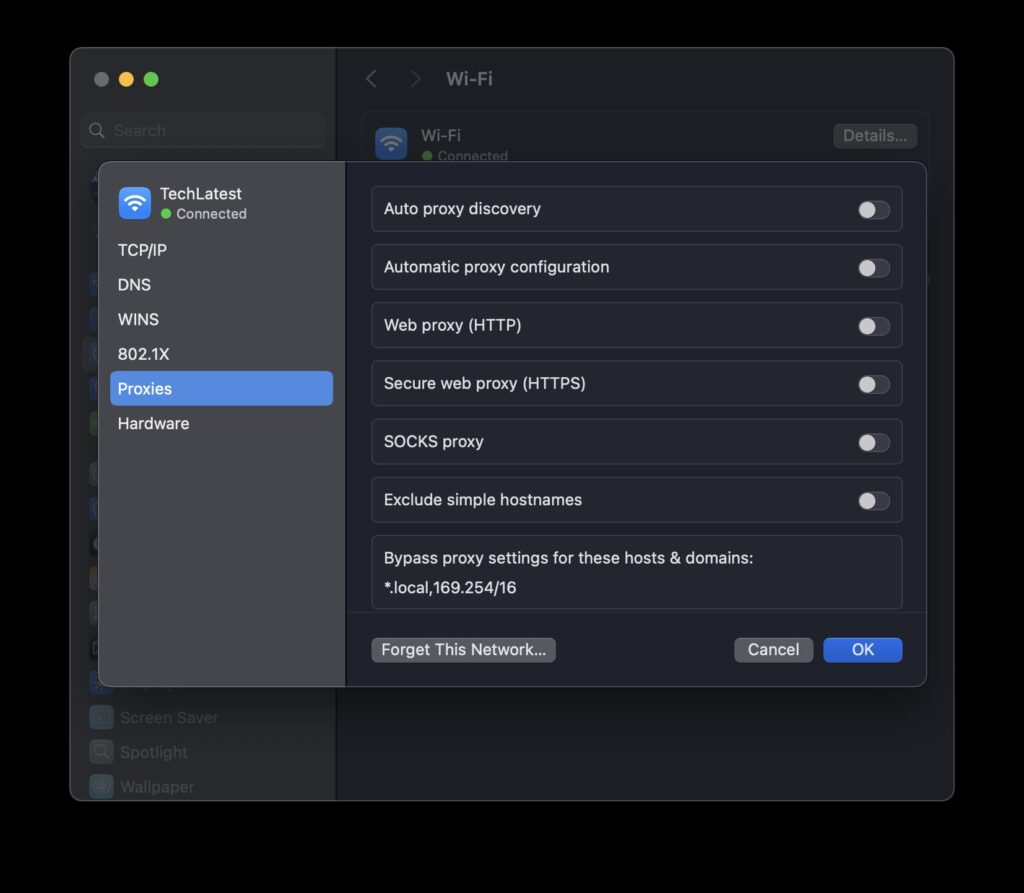
- On macOS: Click “Proxies,” then check the appropriate protocol (e.g., HTTP or SOCKS) and input the proxy details in the designated fields.
Once the settings are saved, Chrome will begin routing traffic through the new proxy automatically. No reboot required—just restart Chrome if needed, and you’re good to go.
Types of Proxies You Can Use with Chrome
Understanding the different types of proxies you can configure in Chrome makes all the difference. Each has its own purpose, strengths, and trade-offs.
| Proxy Type | Purpose | Typical Use Case |
|---|---|---|
| HTTP | Web-only traffic | Ideal for browsing, web scraping |
| HTTPS | Secure web traffic | Adds encryption, better for login sessions |
| SOCKS5 | All types of traffic | More flexible, supports torrents and apps |
| Datacenter | High-speed, not linked to ISP | Great for speed and scalability |
| Residential | Linked to real users | Best for location-sensitive access |
Feeling overwhelmed choosing one? Start simple with an HTTP proxy if your needs are basic. For more advanced users, SOCKS5 offers greater versatility.
Where to Find Reliable Proxies
Let’s not beat around the bush—free proxies might be tempting, but they come with serious downsides like poor speed, limited reliability, and even potential data risks. It’s like hitching a ride on a stranger’s scooter when you could lease a luxury car instead.
For professional-grade performance and a wide selection of locations and types, a provider like proxys.io/en is a solid choice. They offer both datacenter and residential proxies, with scalable plans tailored to individual or business use. Plus, you won’t need to mess with shady backdoors or unreliable sources.
Common Pitfalls and How to Avoid Them
Let’s set the record straight: not every issue that crops up when using a proxy is Chrome’s fault. Sometimes it’s the settings, sometimes it’s the proxy itself. If things go south, here are a few quick checks to troubleshoot:
- Double-check your IP and port: One typo and everything breaks.
- Disable conflicting browser extensions: Some extensions interfere with proxy settings.
- Clear your cache: Your browser might be clinging to outdated data.
- Use a different proxy server: Occasionally, one server might be overloaded or down.
Proxies can fail silently, so if you’re scratching your head wondering why pages won’t load, your proxy could be the invisible culprit.
Tips for Smooth Browsing with Proxies
So now that your proxy is up and running, how can you make the most of it? Here are some pro tips to enhance your experience:
- Rotate your proxy IPs regularly to avoid detection in sensitive tasks like scraping or automation.
- Use browser profiles if you want to separate proxy sessions for different projects.
- Monitor connection speed to make sure you’re getting the performance you paid for.
- Stay compliant with website terms and data usage laws. Proxies provide privacy, not immunity.
Conclusion: Chrome + Proxy = Browser Superpowers
You don’t have to be a networking expert to add a proxy to Chrome—you just need a bit of guidance, and now you have it. Whether you’re streamlining your workflow, managing multiple accounts, or simply improving speed and privacy, proxies offer a toolkit that every savvy Chrome user should know about.
At the end of the day, it’s not just about hiding your traffic—it’s about taking control of it. By understanding how to add and use a proxy in Chrome, you’re transforming your browser into a precision instrument instead of just a window to the web.
Enjoyed this article?
If TechLatest has helped you, consider supporting us with a one-time tip on Ko-fi. Every contribution keeps our work free and independent.
Support on Ko-fiDirectly in Your Inbox
")

")


