If you have ever received a message which says that your DHCP Lookup Failed and you have been getting the same type of error for quite a long time on your Windows PC, then you are at the right place.
Because we are going to fix the DHCP Lookup Failed Error in Windows in this article down below.
Don’t want to miss the best from TechLatest?
Set us as a preferred source in Google Search
and make sure you never miss our latest.
The DHCP Lookup Failed error usually occurs because there is a misconfigured protocol on your computer that is throwing up this error.
It is worth noting that you will need an administrator account to fix this issue, so if you are using a computer that is not owned by you, then you might not be able to fix this issue.
DHCP is Dynamic Host Configuration Protocol, and it is a network protocol responsible for managing and automating the process of IP assignment so that devices can be easily accessible on a network.
The idea of DHCP can be understood well on a router where you can say that the router acts as a DHCP device and when the computer boots up, it looks up for a DHCP server to connect.
When there is no DHCP server or device in the range or if the DHCP protocol is misconfigured, then you will get the DHCP Lookup Failed error.
How to Fix DHCP Lookup Failed Error in Windows?
In order to fix the DHCP Lookup Failed Error in Windows, you will have to follow these suggestions mentioned below:
1. Too Many Devices might be connected to a DHCP Server
As we mentioned earlier, DHCP Lookup Failed error comes up when there is no DHCP device or server or if the DHCP protocol is misconfigured.
However, the DHCP Lookup Failed error can also trigger when there are too many devices trying to connect to the same DHCP server.
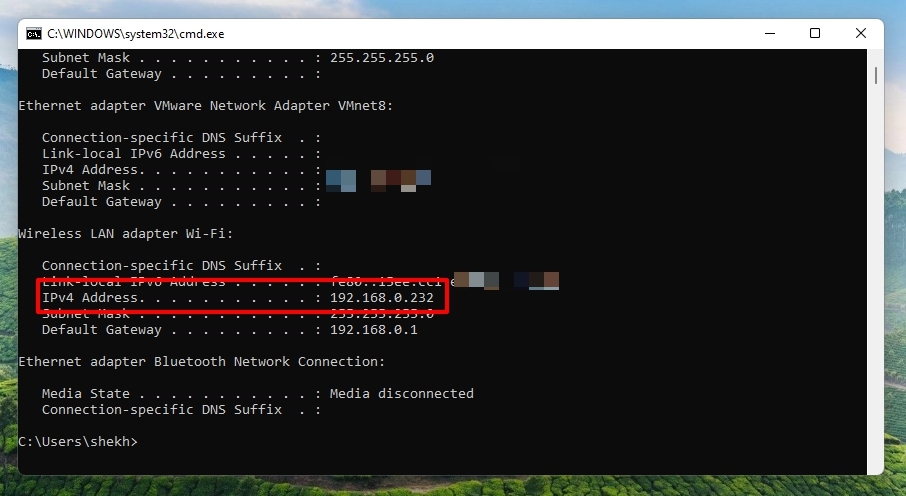
There is a SUBNET mask assigned to every device, which is also responsible for deciding how many devices can be managed by the DHCP server.
Usually, the default SUBNET mask of 255.255.255.0 with an IP Address of 192.168.X.Y is used, and that is also the reason why if you have more than 200 devices connecting to a DHCP server then, it can cause issues.
If you have more than 200 devices connecting to the same DHCP server, then you can switch to a Class A or Class B subnet.
- Class A networks have the default subnet mask of 255.0.0.0
- Class B networks have the default subnet mask of 255.255.0.0
It is worth noting that the issue of DHCP Lookup Failed was reported by IT admins who were using the Chromebooks in bulk, and they were getting kicked out by the DHCP server due to too many users.
2. Renew IP
If the DHCP Lookup Failed error is still coming up on your Windows PC or Chromebook, then it is possible that the router wasn’t able to assign an IP address to the device.
You can renew the IP Address of your router by entering the following line in your command prompt:
ipconfig /renew
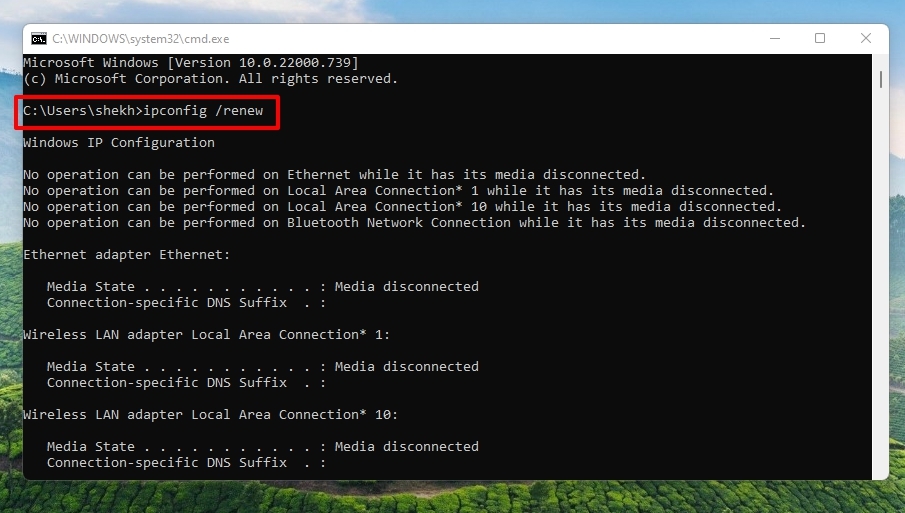
Once you enter this command in your command prompt and then press Enter, the DHCP server will be forced to assign a new IP address to the device.
If you are using a Chromebook, you can use the Chrome OS Settings to fix it in the following manner:
- Go to Chrome OS Settings > Internet Connection and then manually assign an IP or toggle switch to initiate an IP renewal request.
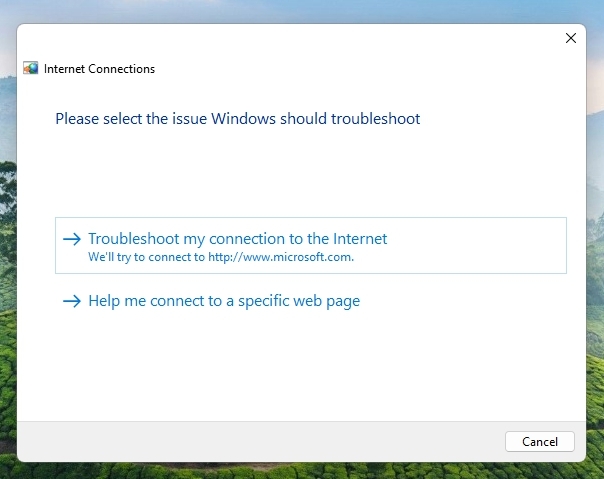
3. Run Windows Troubleshooter
There is a Windows Troubleshooter built right inside the Windows OS, which means that you can run the Windows Troubleshooter in order to fix the issues that you are having on the PC.
- To run the Windows Troubleshooter, go to Settings by clicking Win + I at the same time.
- Inside the Windows Settings, click on Update and Security and then click on Advanced Troubleshoot.
- Locate Internet Connections and run it.
- You can also type network troubleshooter in the Windows Search to search for the same and run it.
Conclusion
In this article, we have mentioned how to fix the DHCP Lookup Failed Error in Windows, and it is also worth noting that the same error is reported by Chromebook users as well.
Therefore, we have included the steps to fix the DHCP Lookup Failed Error in Chromebook devices as well.
With these steps, we are sure that you will be able to fix the DHCP Lookup Failed Error and make sure that your DHCP server and devices are working properly.
Feel free to share this device with your friends and family who are also facing this same problem and help them solve this issue.
Also, make sure to comment down below as to which of the steps mentioned above were able to solve the DHCP Lookup Failed Error for your device.
Enjoyed this article?
If TechLatest has helped you, consider supporting us with a one-time tip on Ko-fi. Every contribution keeps our work free and independent.
Support on Ko-fiDirectly in Your Inbox


