
In this article, we have mentioned all the methods and procedures to carefully flash custom recovery using ADB commands in any Android. Follow the below guide, and you are good to go.
Are you thinking of playing with your Android device? Then, you might need to root your device to get full access to your smartphone. And for rooting any device, you will need a custom recovery.
Don’t want to miss the best from TechLatest?
Set us as a preferred source in Google Search
and make sure you never miss our latest.
Well, there is no issue of sorting custom recoveries, but for all these, you should know how to flash custom recovery using ADB commands.
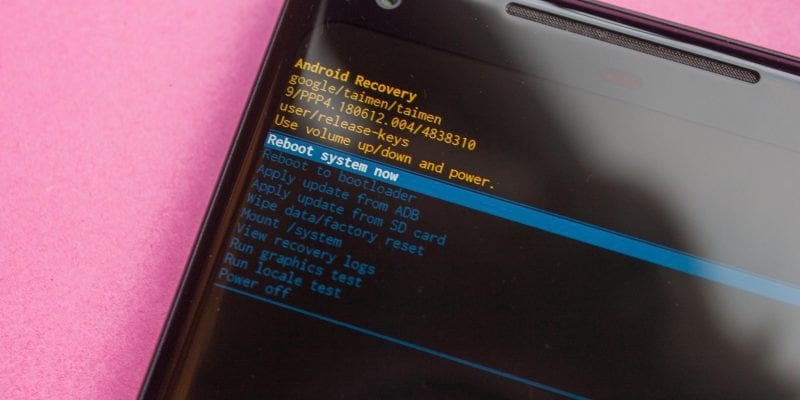
What is Recovery Mode?
The first thing the bootloader rings up is the recovery. A custom recovery like TWRP will let you back up the entire device, flash tweaks, and install a new custom operating system.
Or simply it is a low-level software that can create and restore full system backups. Accessed before the main OS.
The recovery menu provides options to assist in recovering your device — for instance, you’ll reset your device to its factory default state from here.
The recovery mode can also be used to flash OTA update files. If you would like to flash a custom ROM to your device—or re-flash the factory default ROM file—you’ll get to boot to recovery mode first.
What is Custom Recovery?
Before telling you the best custom recovery for Android, we must know what a custom recovery is. A custom recovery may be a third-party recovery environment.
Flashing this recovery environment onto your device replaces the default, stock recovery environment with a third-party, customized recovery environment.
This is often a touch like flashing a custom ROM like CyanogenMod — but rather than replacing your device’s Android OS, it replaces the recovery environment.
At all times, you must refrain from attempting any actions for which you lack sufficient knowledge or understanding. Do not modify or customize any method during the actual implementation process. Doing so may lead to unintended consequences, including potential malfunction of your smartphone or disruption of other functionalities. TechLatest shall not be held liable for any issues or damages arising as a result of such actions.
Flash Custom Recovery Using ADB Commands
Pre-requisites
- USB Cable
- USB Drivers (Download from here)
- Custom Recovery File (Get from here)
- Android SDK (Download from here)
If you are having any issues while setting up the ADB environment, then do follow this guide.
- First, make sure your Android smartphone’s ADB Debugging mode is ON.
- For verifying, connect the device and open cmd and go to the adb folder by using the following command (change the path to the folder accordingly):
cd F:\Utilities\Android\Beryllium\adb
- Then, use the following command to verify the device:
adb devices
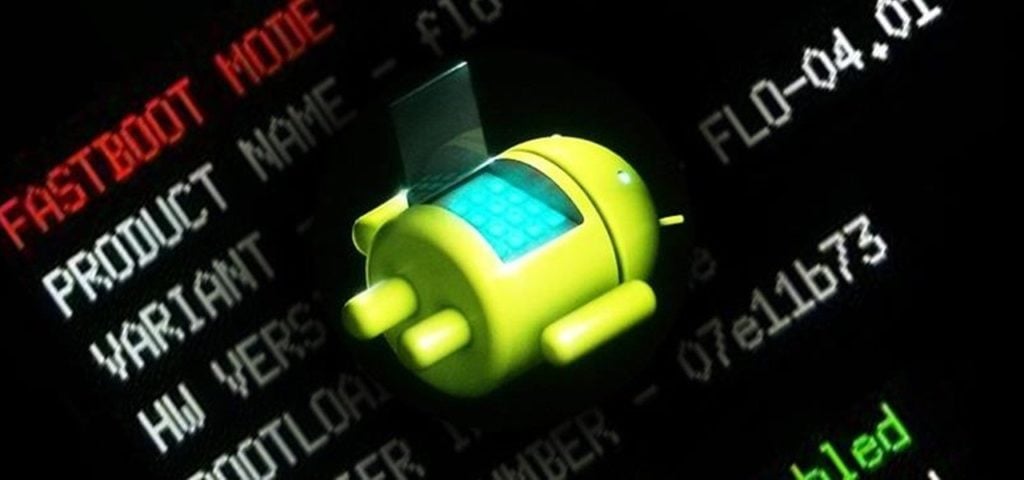
- Now, use the following command to boot into fastboot mode:
adb reboot fastboot
- Finally, use the following command to flash the custom recovery file (make sure to put correct file name):
fastboot flash recovery twrp.img
- Now you can verify the installtion by booting into recovery mode by using the following command:
adb reboot recovery
Conclusion
This was it; you have successfully flashed your first custom recovery on your smartphone. Some of the OEMs don’t allow these types of tasks, and they may void your device’s warranty, so make sure you read their guidelines before doing anything. If you faced any issue while doing this, please let us know about it in the comments section down below.
Enjoyed this article?
If TechLatest has helped you, consider supporting us with a one-time tip on Ko-fi. Every contribution keeps our work free and independent.
Support on Ko-fiDirectly in Your Inbox


