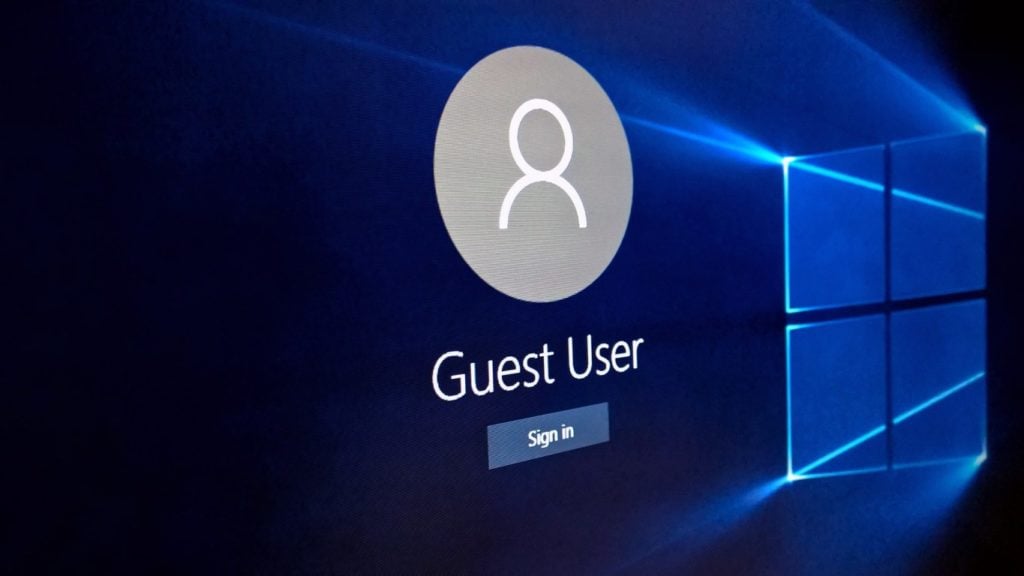
Is your Windows 10 machine being used by many other users and you don’t want to share your admin account credentials to them? Then a guest account is your one-stop solution. In this article, we have discussed a few methods to add guest account in Windows 10, in very straightforward steps.
The Guest account is a low-privilege Windows account. It’s available to users that don’t have an account defined and need occasional access to a Windows system. Users logging on using the Guest account can access local data and applications but can’t install software or hardware.

Steps to Add Guest Account in Windows 10
Method 1
In this method, we are simply going to use the Windows Setting to add guest account in Windows 10.
- Tap on the Start Menu from the leftmost corner.
- Now tap on the Wheel like icon to open Windows Settings.
- After opening Settings, open the ‘Accounts’ setting.
- Then tap on the ‘Family & Other Users’ section from the left section.
- Now tap on ‘Add Someone Else to This PC’ option under Other Users Section.
- After clicking on that button, a Microsoft Account window will pop up asking to add email or phone.
- If you want to add, simply enter the details and follow the on-screen instruction.
- If you don’t want to add any details, just tap on ‘I don’t have this person’s sign-in information’ label.
- Now, a new window will pop up asking to create an account, just ignore this and tap on ‘Add a user without a Microsoft account’ label.
- Now, enter the name and password(optional) of the new guest account and hit the next button.
- That was it, you have successfully created a guest account in Windows 10.
Method 2
In this method, we are going to use Local Users and Groups policy editor. So, let’s check out how to use Local Users and Groups Policy editor to add guest account on Windows 10 computer.
Note: This method is not applicable in Windows 10 Home Edition.
- First of all, click on Start and then type ‘lusrmgr.msc’ and then press enter.
- Now click on ‘Users’ and then click on the ‘Guest’ at the right side.
- Now type the guest account name and then untick on the option Account is Disabled and that’s it you are done; an account is activated in your windows 10.
Method 3
In this method, we are going to add a guest user using Command Prompt (CMD).
- Tap on the Start Menu from the leftmost corner.
- And search for ‘CMD’ and open it as administrator.
- After opening the CMD, enter the following command and don’t forget to change <name> with your desired account name:
net user <name> /add /active:yes
- Now you need to type in the following command. If you don’t need the password, then press the Enter button twice.
net user <name> *
- In the next step, you need to remove the new user account from the default user group and add the newly created account to the Guest user group. For that enter the following command one by one:
net localgroup users <name> /delete
net localgroup users <name> /add
Closing Words
That’s it, you are done! Now you can sign out of your current account and in the sign-in screen, select the newly created guest account. We have shown you three different ways to add guest account in Windows 10 system. If you have any further doubts regarding this then feel free to comment down below.
More Like This
Directly in Your Inbox


![[Solved] Windows Update Error Code 0xc1900223 Windows 10 Update Featured](https://tech-latest.com/wp-content/uploads/2021/12/Windows-10-Update-Featured-300x225.jpeg)


