In this article, we are going to discuss on how to install Google TV launcher on any Android TV before the official launch. This can be tricky as sideloading the apk will not work. This is because of the default/stock Android TV launcher.
Follow the below article carefully as we will use some methods that aren’t familiar to many users. But if you follow the steps mentioned below, you will most probably not face any type of issue.
About Google TV Launcher
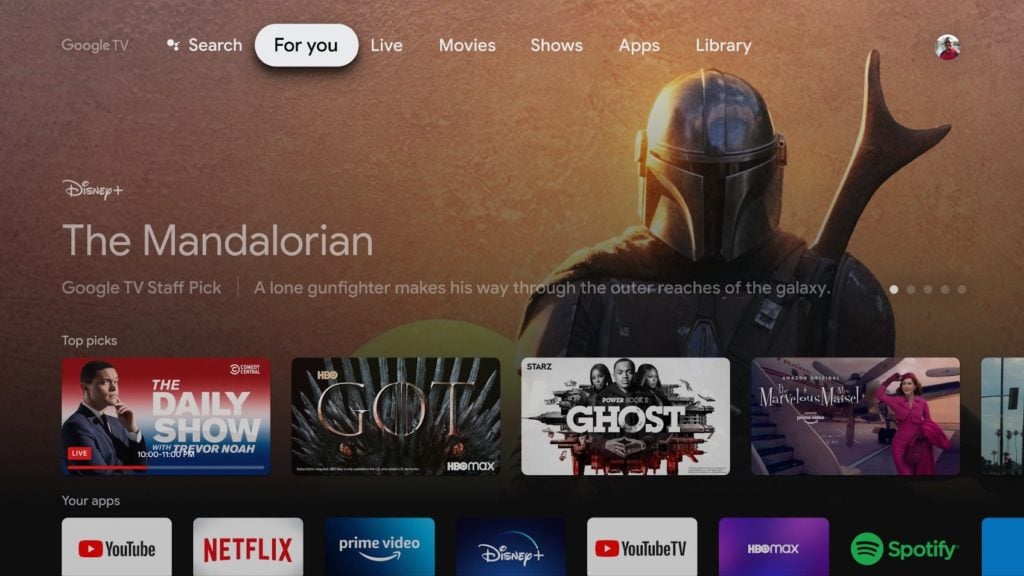
According to the Play Store listing, “Google TV Home is the basis for all activities on your Google TV entertainment device. Browse thousands of movies, shows, and live TV channels from your subscriptions without jumping between apps. Discover new things to watch with recommendations based on what you watch and what interests you.”
Steps to Install Google TV Launcher
First, we are going to download and sideload the apk to our Android TV.
Downloads
- Google App for Android TV (Version 5.3.0.331218010 or above)
- Google TV APK (Also called LauncherX)
- Solid Explorer (To be installed from Play Store on TV)
- Send File to TV (To be installed from Play Store on TV)
- Download both the apks from the above links.
- Now, we are going to install a file explorer to view all those files on our TV (we recommend Solid Explorer)
- Then copy the apk to the Android TV. You can use any method to do so. You can use any thumb drive, but we like using the ‘Send File to TV‘ app.
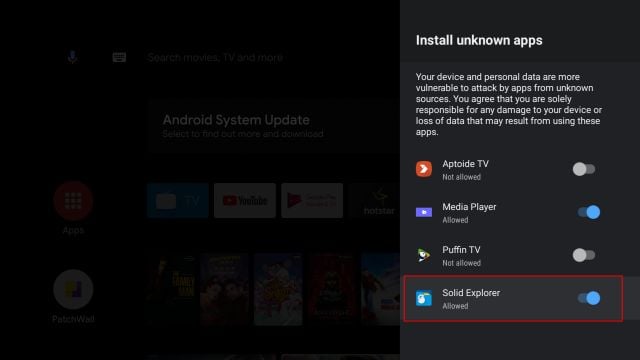
- Now, we need to disable the security where you can’t install/sideload apks other than Play Store; for doing so, follow the below steps,
- Click on the gear icon from your current home screen,
- Then scroll down to Device Preferences and open it,
- Now, navigate to Security & Restrictions and then Unknown Sources,
- Finally, toggle the slider to the right at the front of Solid Explorer (or your preferred file explorer).
- Now, go back to the home page and open Solid Explorer.
- After opening Solid Explorer, locate those apks,
- Install them by clicking on them one, one by one.
- Now, go back to the home page and open the Play Store,
- And search for Home Screen Launcher for Android TV and install it.
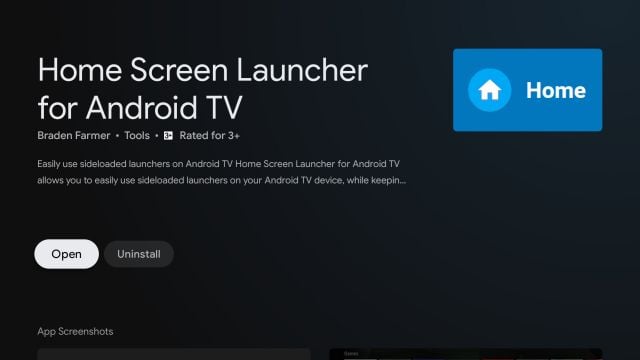
- After successful installation, try clicking the Home button on your remote; as soon as you click the home button, the TV will detect a new launcher as LauncherX, which is none other than the Google TV launcher.
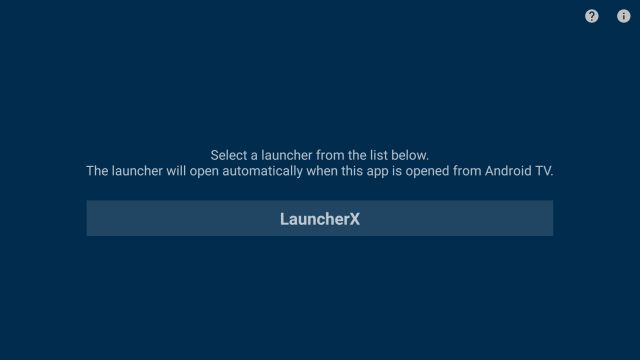
- Open it, and there you have the brand new Google TV running on your Android TV.
Set Google TV Launcher as Default Launcher
But it will work as a third-party launcher, you will have to open the Home app every time to enjoy the new Google TV Launcher. You will not find any way to set it as the default launcher, the thing we see on an Android device. So we will disable the default Android TV launcher to set the new Google TV launcher as the default launcher.
- Open Device Preferences of your Android TV.
- Then go to Build Version under the About section.
- Now, repeatedly press it until Developer Options are enabled.
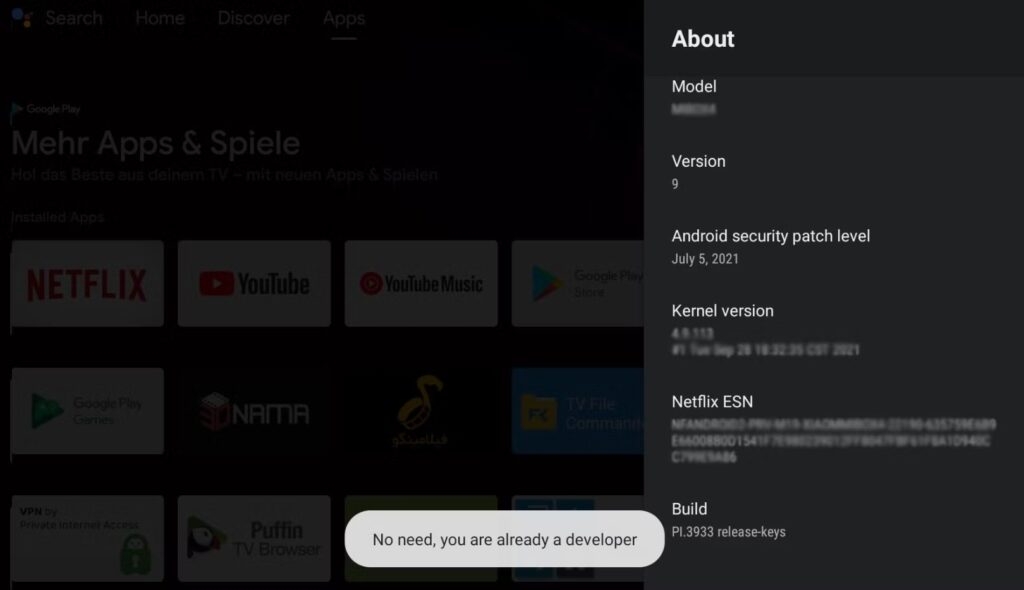
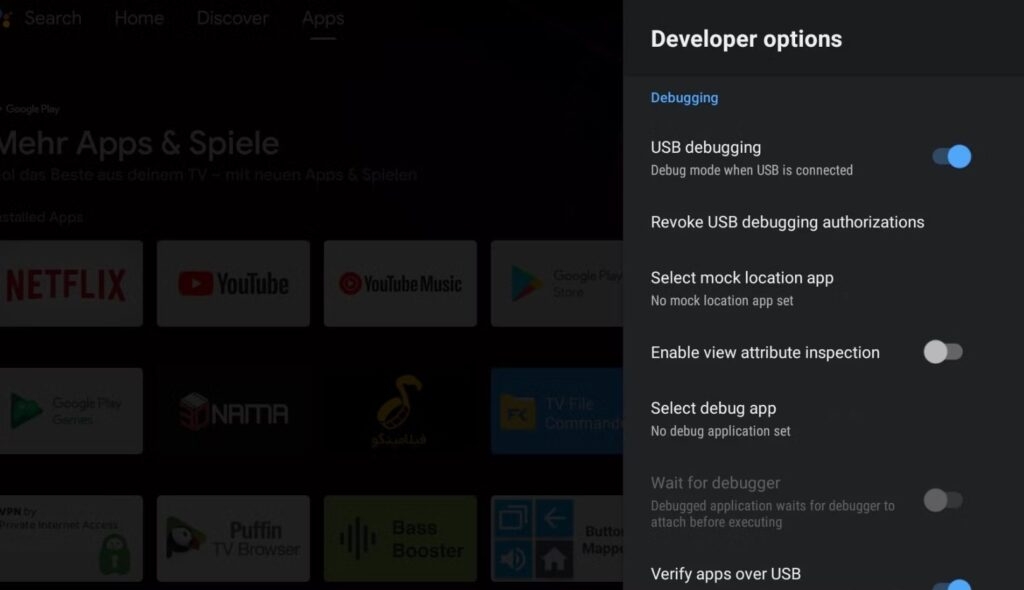
- After enabling, go back to the Device Preferences menu and open Developer Options.
- Now, enable USB debugging and Network debugging.
- Finally, go back to the About section and tap on Status to get the IP Address.
Now, go back to your PC; we are going to connect your Android TV to your PC via ADB.
Setting Up ADB in our Desktop/Laptop
The process is a little tricky, but those familiar with ADB will be able to do this very easily.
Well, these days, most people are not familiar with ADB, so first, we going to set up ADB in our system (desktop or laptop).
- Download the “Platform-tools” (ADB and Fastboot drivers).
- Extract the downloaded file. (remember the path, we will need it later)
- You will find a folder named “platform-tools” this folder consists of files like adb.exe or fastboot.exe
- Now, open cmd in administrator mode.
- Copy the path of the extracted folder, i.e., platform tools.
- And paste it in the cmd window with cd in the front; take a look at the example below:
cd F:\Utilities\Android\Beryllium\platform-tools
One more trick is to open the cmd with the exact directory directly.
- Open the folder, in our case, the ‘platform-tools.’
- You will see the path in the navigation bar.

- Click on the navigation bar and remove the path from there.

- And finally, type ‘cmd’ in that bar and press enter.

- Boom, a command prompt will open within the same directory.
- Now type the following command. Note: You may need to add “:5555” to get this working
adb connect [insert IP address]:5555
- After that, use the following command to disable the default Android TV launcher.
adb shell pm uninstall –user 0 com.google.android.tvlauncher
That was all. You have done all the steps to install the Google TV launcher successfully on your Android TV.
In case you want to return back to the old launcher, use the following command:
adb shell cmd package install-existing com.google.android.tvlauncher
Use Google TV Launcher in Any Country
Initially, Google TV is installed in the US only, so if you are in a country like India, you might not be able to use the launcher completely. In that case, you won’t get personalized cards, smart recommendations on the home screen, and a few glitches here and there.
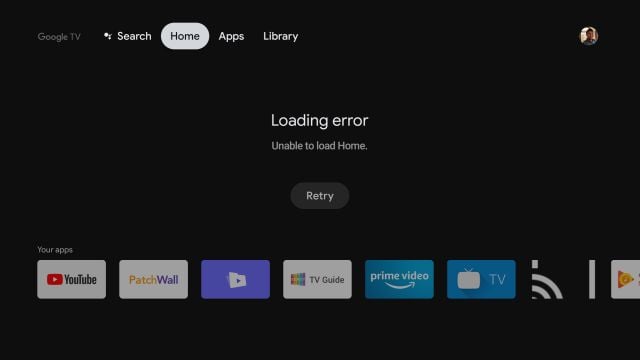
So, we will have to use a VPN service to virtually change our location to the US to use the launcher properly. Keep in mind that with this setup, you will get both local and US-centric results. You can use free as well as paid VPN to do this; here are a few recommendations which you can opt from,
- Windscribe VPN (Free & Paid)
- Proton VPN (Free & Paid)
- Hide.me VPN (Free & Paid)
- Nord VPN (Paid)
- SurfShark VPN (Paid)
- Express VPN (Paid)
- CyberGhost VPN (Paid)
But if the new-gen Chromecast is available in your country, you will not have to use the VPN to use the Google TV Launcher.
Directly in Your Inbox


![[Solved] "Your device isn't compatible with this version" Error on Android Android Troubleshooting](https://media.tech-latest.com/wp-content/uploads/2023/01/26144434/Android-Troubleshooting-Featured-300x169.jpg)
