
Microsoft Quietly Released Windows File Recovery Tool for Windows 10 2004 Version. And it will be supported for the upcoming newer versions. The utility can be used on traditional mechanical hard drives as well as SSDs, memory cards and USB drives. There is support for NTFS, FAT, exFAT, and ReFS file systems, so you can use Windows File Recovery to get back files lost under various operating systems.
“Accidentally deleted an important file? Wiped clean your hard drive? Unsure of what to do with corrupted data? Windows File Recovery can help recover your personal data,” the Store listing for the app explains. “For photos, documents, videos[,] and more, Windows File Recovery supports many file types to help ensure that your data is not permanently lost. Recovering from a camera or SD card? Try Signature mode, which expands beyond NTFS recovery and caters to your storage device needs. Let this app be your first choice for helping to find what you need from your hard drive, SSD (*limited by TRIM), USB drive, or memory cards.”
Don’t want to miss the best from TechLatest?
Set us as a preferred source in Google Search
and make sure you never miss our latest.
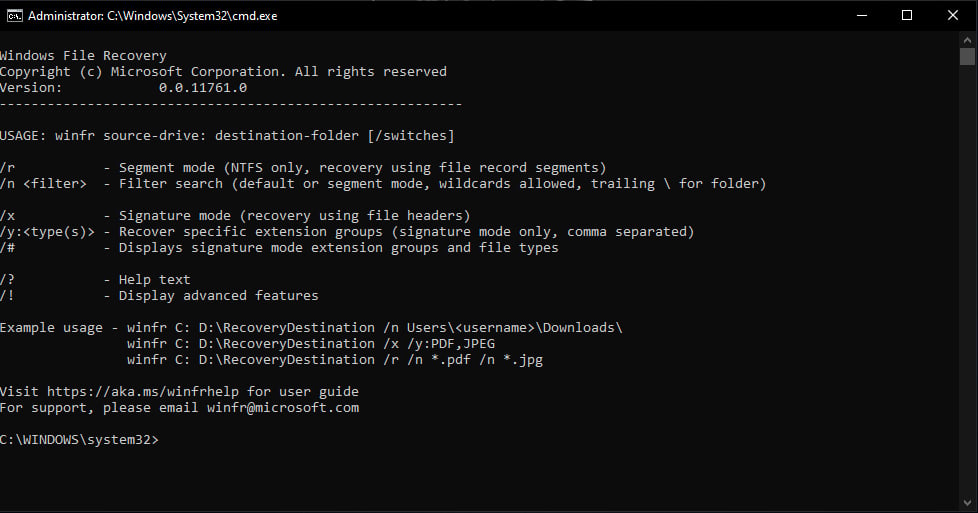
This is a tool that uses the command line to perform all the operations, so this may or may not be compatible for every user out there. This can be used to retrieve data from local hard drives as well as removable media such as USB drives and memory cards.
There are three different modes within the applications, as described by Microsoft:
- Default mode: This mode uses the Master File Table (MFT) to locate lost files. Default mode works well when the MFT and file segments, also called File Record Segments (FRS), are present.
- Segment mode: This mode does not require the MFT but does require segments. Segments are summaries of file information that NTFS stores in the MFT such as name, date, size, type, and the cluster/allocation unit index.
- Signature mode: This mode only requires that the data is present and searches for specific file types. It doesn’t work for small files. To recover a file on an external storage device, such as a USB drive, you can only use Signature mode.
Recover Data using Windows File Recovery Tool
Step 1: Download the exe file or download the tool directly from Microsoft Store (Recommended).
Step 2: Install and Open the Released Windows File Recovery Tool.
Step 3: When you are prompted to allow the app to make changes to your device, select Yes.
Step 4: In the Command Prompt window, enter the command in the following format:
winfr source-drive: destination-drive: [/switches]The source and destination drives must be different. When recovering from the operating system drive (often C: ), use the /n <filter> and /y:<type<(s)> switches to specify the user files or folder. Microsoft automatically creates a recovery folder for you called, Recovery_<date and time> on the destination drive.
Default Mode examples
Recover a specific file from your C: drive to the recovery folder on an E: drive
winfr C: E: /n \Users\<username>\Documents\QuarterlyStatement.docx
Recover jpeg and png photos from your Pictures folder to the recovery folder on an E: drive.
winfr C: E: /n \Users\<username>\Pictures\*.JPEG /n \Users\<username>\Pictures\*.PNG
Recover your Documents folder from your C: drive to the recovery folder on an E: drive.
winfr C: E: /n \Users\<username>\Documents\
Don’t forget the backslash (\) at the end of the folder.
Segment mode examples (/r)
Recover PDF and Word files from your C: drive to the recovery folder on an E: drive.
winfr C: E: /r /n *.pdf /n *.docx
Recover any file with the string “invoice” in the filename by using wildcard characters.
winfr C: E: /r /n *invoice*
Signature mode examples (/x)
When using the signature mode, it’s helpful to first see the supported extension groups and corresponding file types
winfr /#
Recover JPEG (jpg, jpeg, jpe, jif, jfif, jfi) and PNG photos from your C: drive to the recovery folder on an E: drive.
winfr C: E: /x /y:JPEG,PNG
Recover ZIP files (zip, docx, xlsx, ptpx, and so on) from your C: drive to the recovery folder on an E: drive.
winfr C: E:\RecoveryTest /x /y:ZIP
Step 5: When you are prompted for confirmation to continue, enter Y to start the recovery operation. Depending on the size of your source drive, this may take a while.
That was all about the new Windows File Recovery Tool. This might be very useful once you get used of it. The command line may take some time but if you follow the instructed steps, it can be done in a very easy and straightforward way.
Are you facing any problems and issues with Windows 10? Then there is nothing to worry about, we have an article dedicated to Windows 10’s issues and guides, visit Windows 10 Troubleshooting Guide. I hope you would like this content if you have some more suggestions let us know in the comment section.
Enjoyed this article?
If TechLatest has helped you, consider supporting us with a one-time tip on Ko-fi. Every contribution keeps our work free and independent.
Support on Ko-fiDirectly in Your Inbox


