
It doesn’t matter if you’re using your iPhone or a DSLR; this article is for anyone who loves the process of taking photographs but finds editing them a challenge.
These top tips will help you get the desired results with every snap. With a little practice, you’ll have photographs that can rival the professionals.
Don’t want to miss the best from TechLatest?
Set us as a preferred source in Google Search
and make sure you never miss our latest.
Content Table
1. Adjust Highlights and Shadows
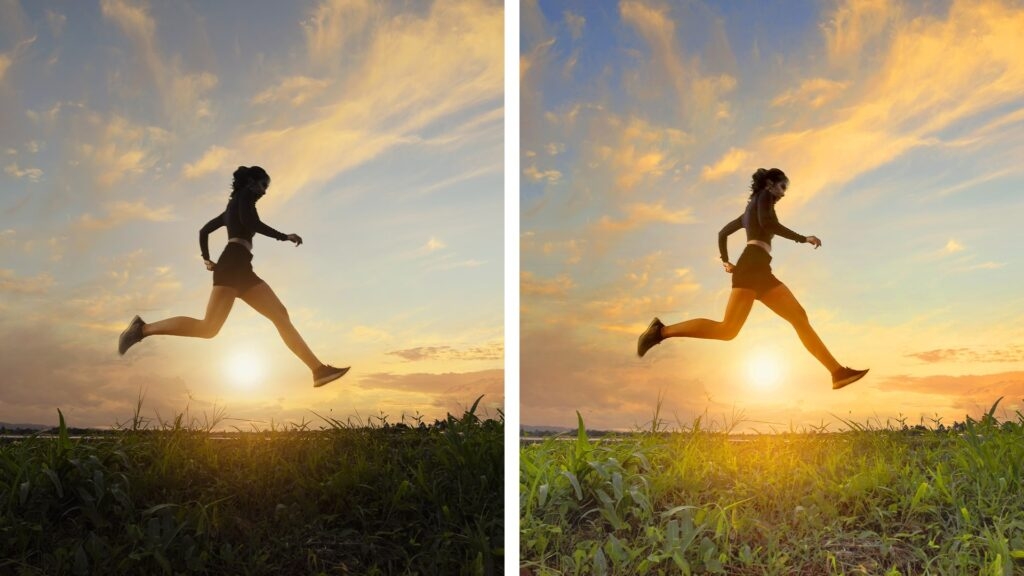
Although they’re relatively sophisticated, cameras can only capture a small percentage of the brightness our eyes can see.
This means you’ll frequently find your images perfectly exposed in certain areas but too dark or bright in others. If you increase exposure to see the shadows’ details, you may find that your highlights blow out and your finger hits the delete button.
However, all you need to do to correct the exposure is to take some time to balance out bright and dark extremes with the Highlights and Shadows sliders.
For instance, if some of your image is too dark but you don’t want to blow out the lit-up water, you should adjust the Shadows slider to increase the brightness of only the images’ darker parts.
This is why many photographers opt for slightly underexposing their pictures to get the perfect highlights. They know they can find enough details in the shadows using the slider when editing their photographs.
2. Comprehend White Balance
Every light source has a color temperature, whether it’s the sun at noon or your bedside table lamp. This can also change over time, like the sun moving its position in the sky, something that will shift the degree and intensity of its light.
Our eyes are excellent at adjusting to this temperature and making whatever light source we are exposed to normal, but cameras are not.
Generally, they are set to Auto White Balance, in which the camera judges the temperature of the color and balances the scene to its idea of what the image should look like.
Understandably, the camera does not always make the right decision, or you may want to change the white balance to fit the look and feel you are aiming for so that you can make a group of pictures look more consistent.
Play around with the white balance to a point you are happy with, and save those settings for future reference.
3. Crop Without Fear
There are photographers out there who are proud of never cropping their images. But most of us use this tool frequently when posting on apps like Instagram. Cropping also helps to improve the composition of photographs, and it’s often not a bad idea to shoot wider shots to have some flexibility for cropping later on.
You should remember that cropping will lower the potential resolution of your picture once it has been exported. However, if you are shooting for social media or a website, this shouldn’t be a problem.
Machine learning has also made editing software very good at upscaling pictures if you want to put yours on the side of a bus or a billboard.
If you’re exporting images for your archive, consider not cropping too harshly. This will give you more options when you eventually use the images for a design or presentation. But if you’re using your pictures for something specific, crop them to the dimensions you need and then export them as usual.
4. Don’t Overdo Your Edits
Some images call for strong edits, but you don’t want your edit to stand out more than your picture. You aim to make an average photo more interesting, not redeem a hopelessly poor one or create an obviously fake or overprocessed image.
Remember not to add too much contrast, and don’t flood your colors. An image that looks totally unrealistic might be distracting for the viewer. Watch out for excessive color grades, too-strong vignettes, and slightly off-white balances.
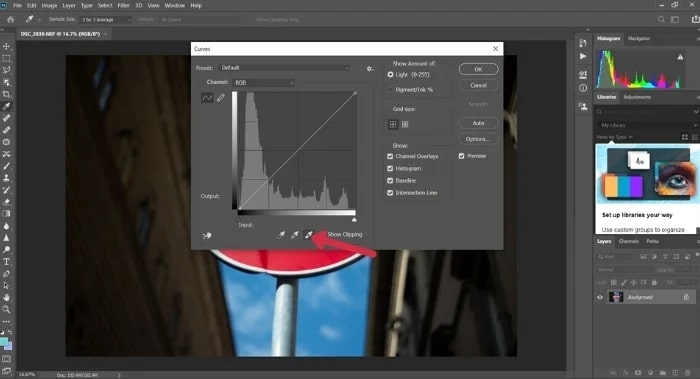
5. Examine Your Histogram
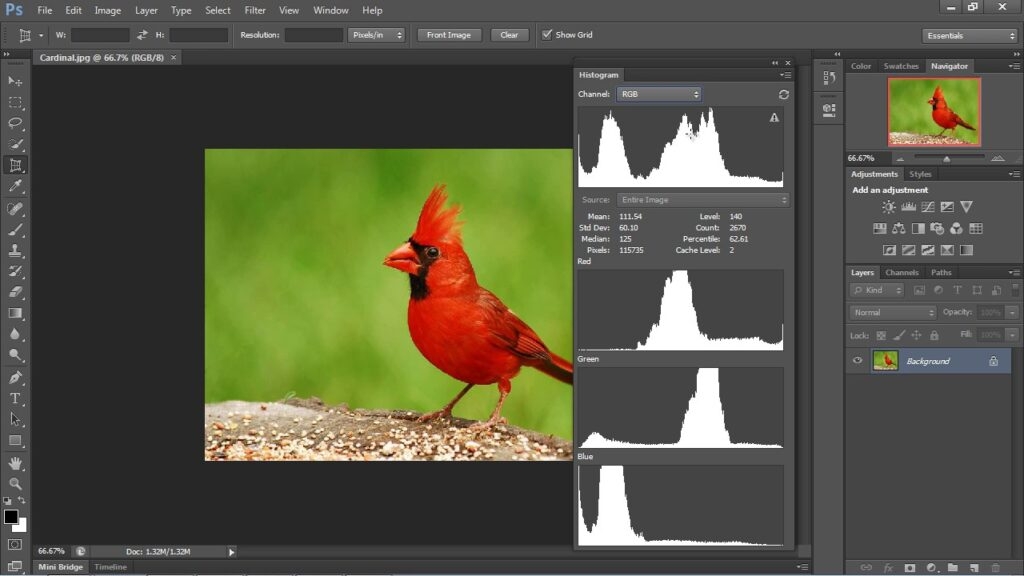
A histogram is a graphic representation of how bright your image is, and most editing software will have this as a built-in feature. Using a histogram, you can double-check that your image brightness is correct and that it’s neither too light nor too dark.
Histograms show your photograph’s dark value on the left and the bright value on the right. The midtones will be in the middle.
If the graph is stacked up on the left-hand side of your screen, you’re likely losing shadow details. If it’s high on the right, you might lose details in the highlights.
6. Get the Horizon Straight
There’s a lot on your mind when shooting a photograph, including composition, focus, shutter speed, zoom, and more. This means that, all too frequently, we forget to keep our cameras or smartphones level as we snap, resulting in a distracting slanted horizon.
If you don’t remember to hold your camera level during the shooting process, don’t despair. You can edit it by using the alignment tool or cropping it at a slight angle. This way, you can realign the scene so your horizon is straight.
7. Keep Your Editing Consistent
The more editing you do, the more aware you’ll become of your own personal likes and dislikes in an image, and the closer you’ll be to settling into your own style. But until you do, it’s useful to create a consistent look and feel in the way you edit.
This way, all your photographs will look organized and uniform and have a general cohesiveness that gives your work an air of professionalism.
Most photo editing software will allow you to amalgamate all the separate changes you’ve made to an image file and save it as a preset or template. This way, you can quickly apply the same contrast, highlights, shadows, and tone curves to all your photographs.
In Conclusion
Regardless of whether you’re working on building a portfolio for your photography business or wanting to shoot high-quality images for your social media account, proper editing enhances the quality of your images.
Adjusting the saturation, contrast, and brightness can make a world of difference and help you develop a really individual technique and style for taking photos. It also makes your pictures more appealing visually and more engaging overall.
Enjoyed this article?
If TechLatest has helped you, consider supporting us with a one-time tip on Ko-fi. Every contribution keeps our work free and independent.
Support on Ko-fiDirectly in Your Inbox


